 API-FOOTBALL
In this tutorial I will guide you through building a dynamic NBA (basketball) WordPress website with LIVE scores and helpful statistical information. You will learn how to flawlessly integrate API data import from api-sports.io, fetch and display NBA games and calendars, and provide your audience with the most up-to-date information on their favorite teams and players.
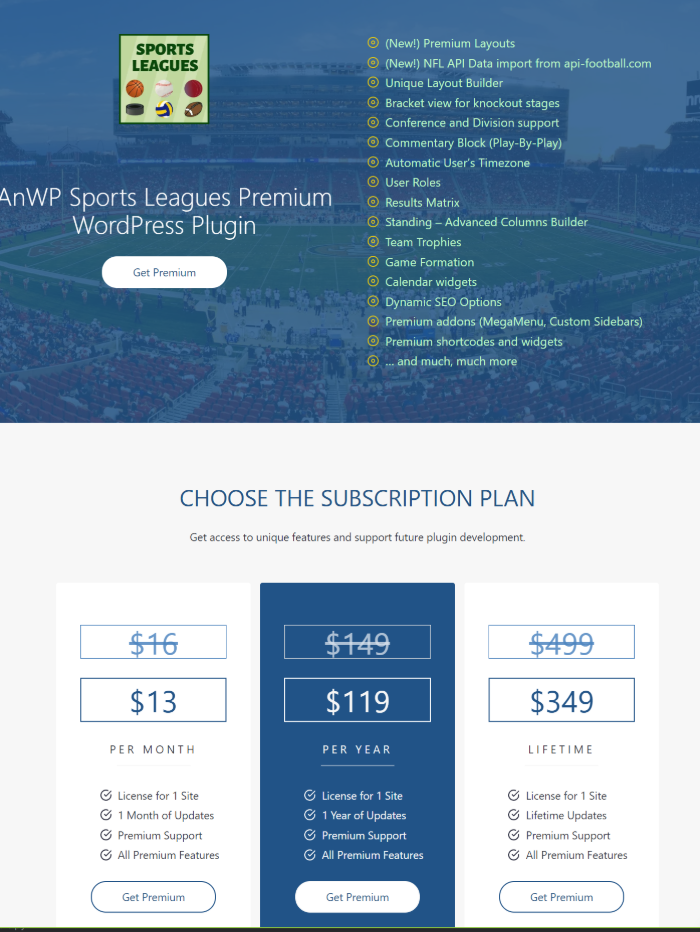
The AnWP Sports Premium WordPress plugin offers a range of benefits for your website. Some of its main advantages include:
- automatic NBA API Data import from https://api-sports.io/
- Bracket view for knockout stages
- Automatic User’s Timezone (adjust the game kickoff time to the local time of the visitor)
- Automatic Standing Table calculation with Conference and Division support
- Page Layout Builder (with tabs)
- Premium Gutenberg Blocks
- Several calendar shortcode
- Many statistical shortcodes
- Automatic LIVE scores
- … and many many more
Discover the power of AnWP Sports Leagues plugin by checking out our demo website:
- Home Page
- Archived Season – NBA 2022/23
- Current Season – NBA 2023/24
- Team – Atlanta Hawks
- Player – D. Murray
- Game – LAL – Suns
1) WordPress Plugins
Before you begin, it is required to install the necessary plugins.
Install the AnWP Sports Leagues plugin from the WordPress repository.
Subscribe to the premium version and receive a downloadable link via email. Install it and activate using the license key from the email.
2) Data Provider – api-sports.io
You will need an API key to import data. Follow these steps:
- Go to the API-football Dashboard.
- Sign up if you don’t have an account, or sign in if you already have one.
- Once signed in, click
Subscriptionand selectAPI NBA. - Choose a PRO plan, which should be sufficient for a start.

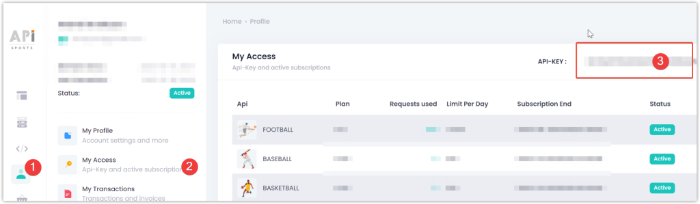
In the API Dashboard, navigate to Account (1) >> My Access (2) and copy your API Key (3).
3) API Import Setup
Before we continue, I want to confirm that you have successfully installed all the required plugins, securely copied an API key, and are fully prepared to follow the next set of instructions.
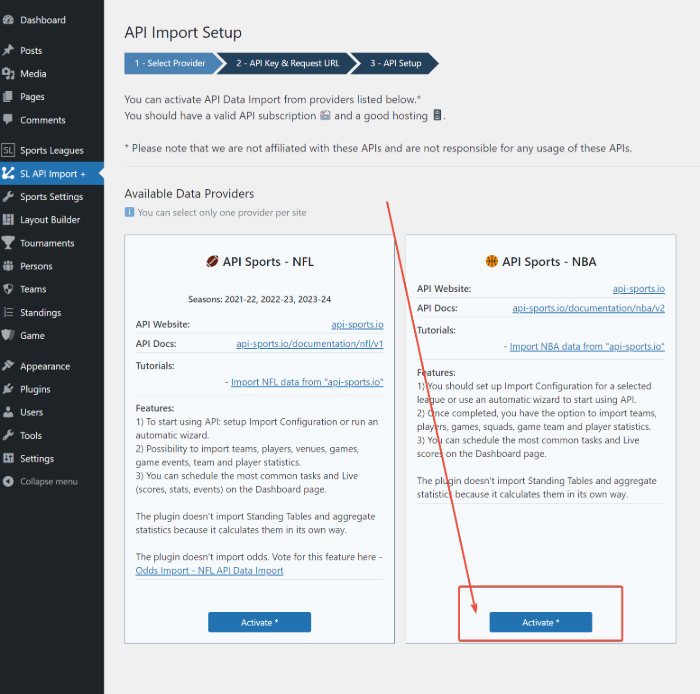
In your WordPress admin, go to the SL API Import + and click Activate under API Sports – NBA (see screenshot).
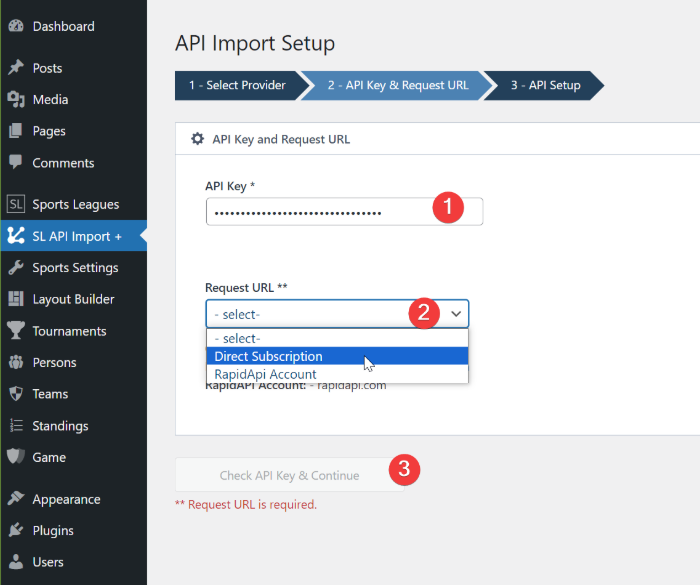
In Step 2, paste your API Key (copied from the API Dashboard) and select your Request URL (Direct Subscription in our case).
Choose what data you want to import and click the Save button.
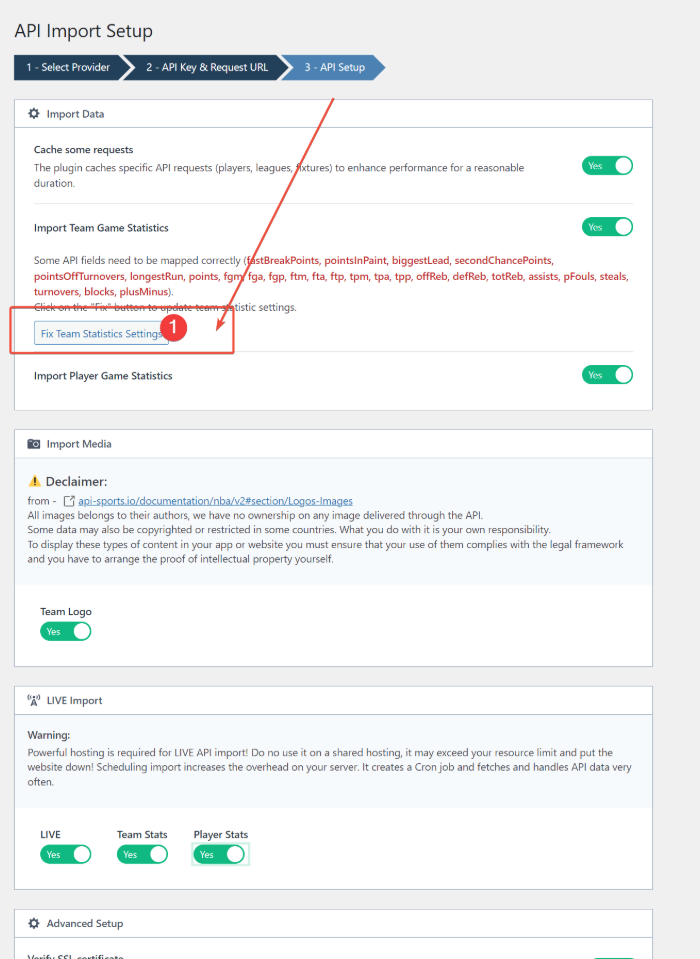
If you plan to import Game Team Statistics, click the fix button to update the plugin settings.
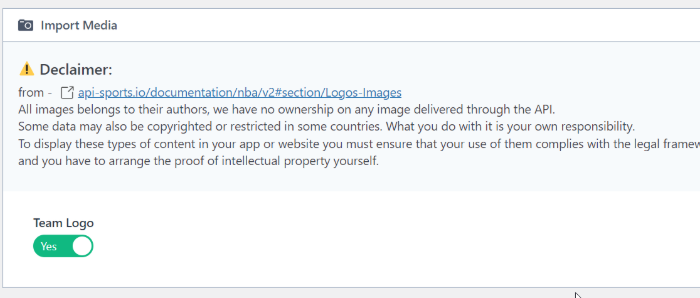
You have the option to choose from default team logos or upload custom logos later on.
4) API Leagues
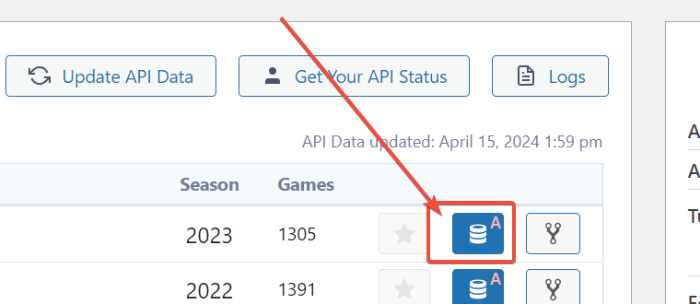
Upon being redirected to the API Leagues page, you will know that the necessary configurations have been set up successfully, and you can begin importing data from the API. Congrats on reaching this stage!
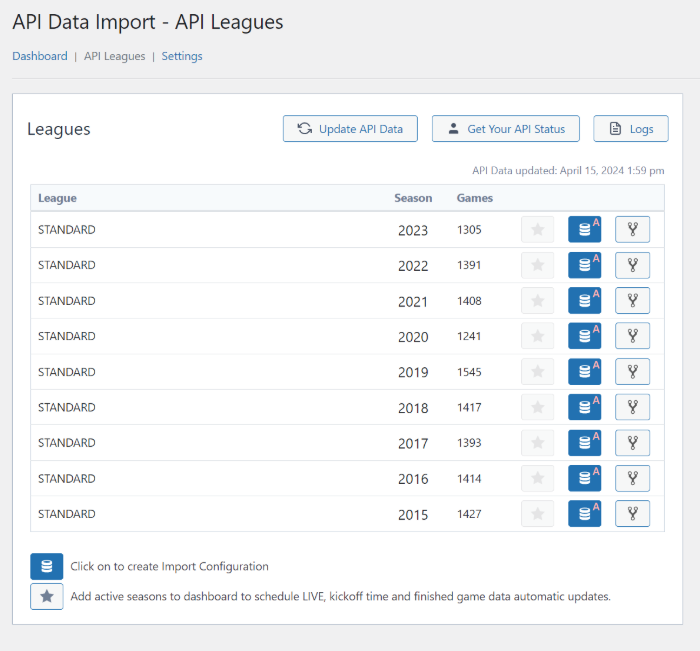
Click on the Database icon to create an import configuration.
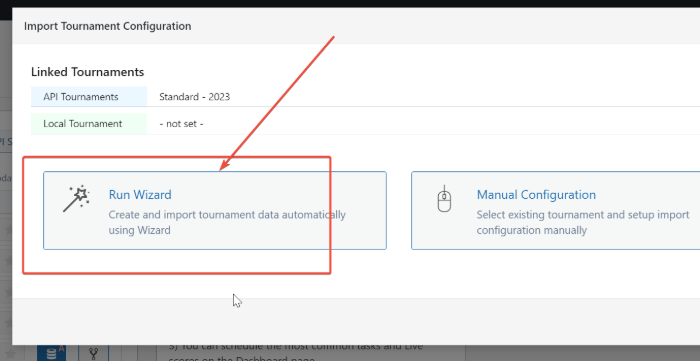
Choose Run Wizard on the next step.
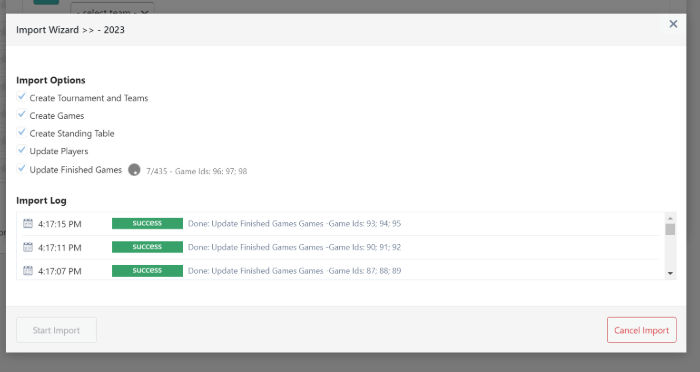
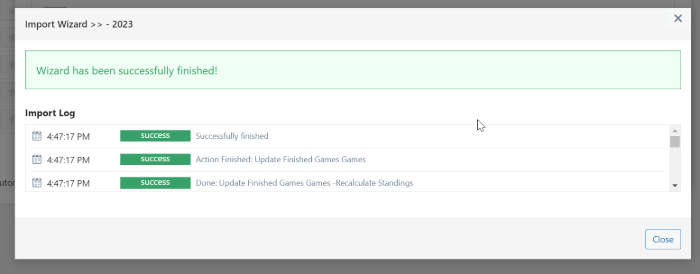
Then run Start Import.
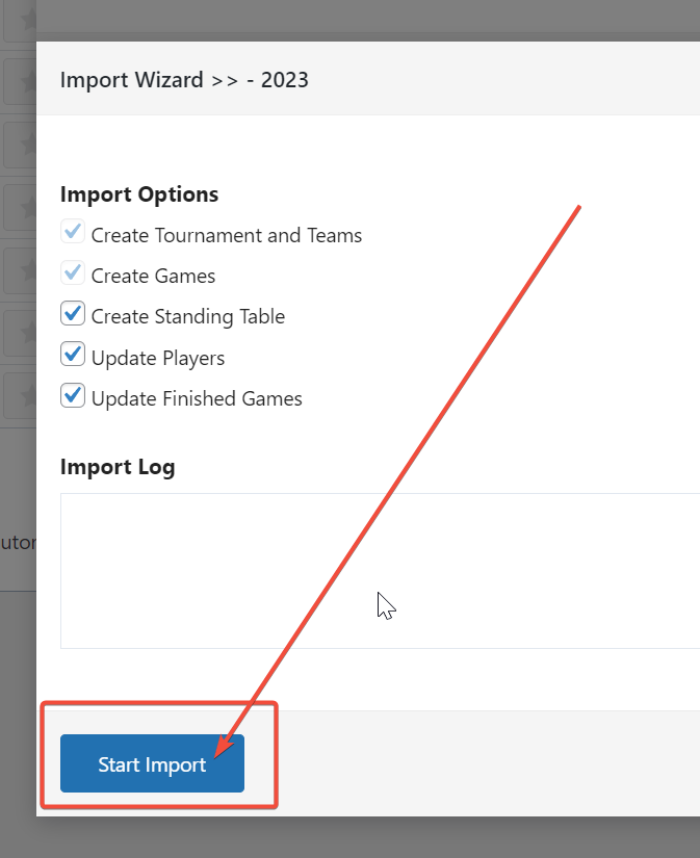
It will take some time. Do not close this window until the process is complete.
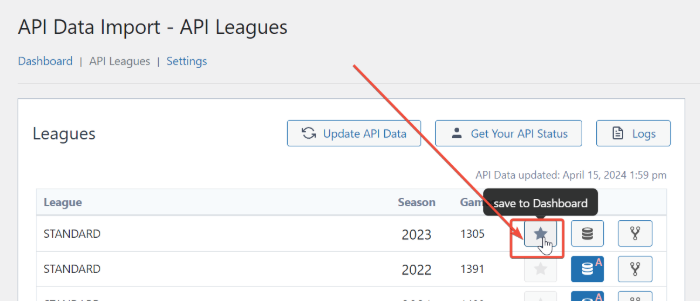
If you are importing the activate season, lick the Star icon to make it available in the Dashboard. On the Dashboard page, you can easily run and schedule common tasks such as LIVE games or Update Finished Games.
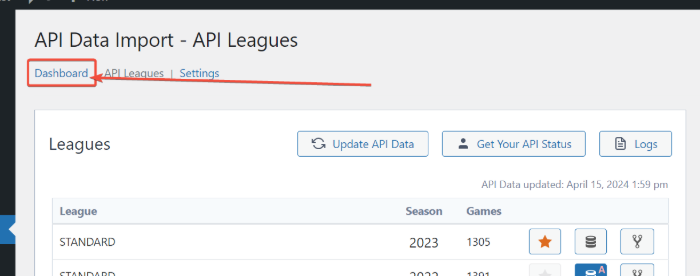
Then switch to the Dashboard.
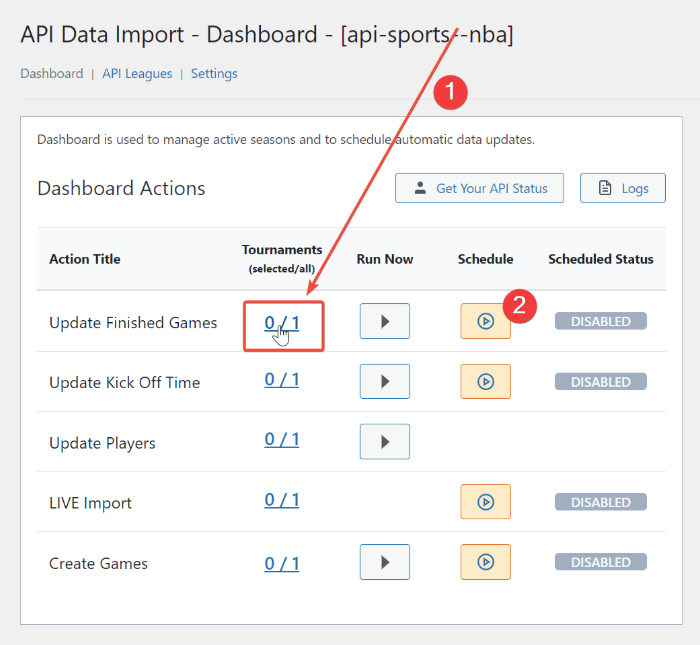
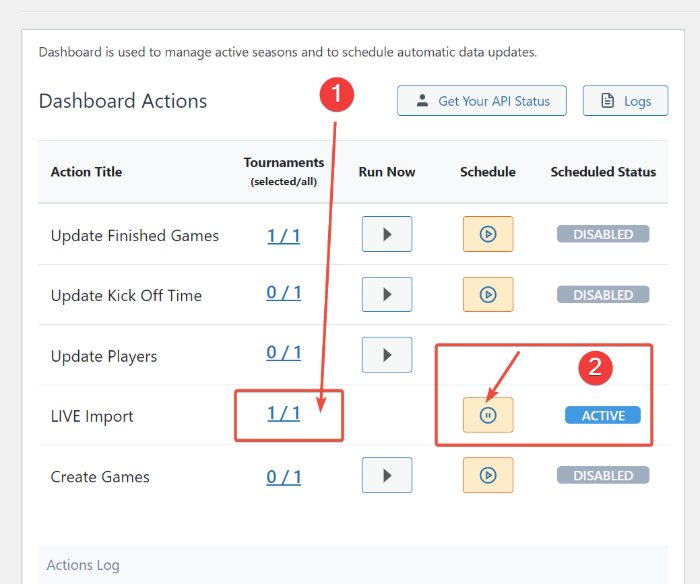
5) Schedule Automatic Updates
The plugin allows you to schedule common tasks like Update Finished Games or Update Kickoff Time. Just select tournaments and click Schedule to activate automatic tasks.

6) Live Data
If you intend to import real-time data, you can easily schedule it with the plugin, which will handle all the necessary processes for you.
Select Tournament (1) and schedule task (2).
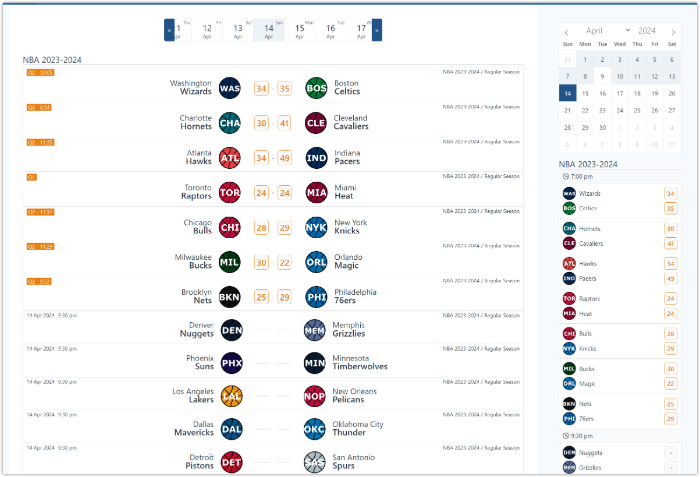
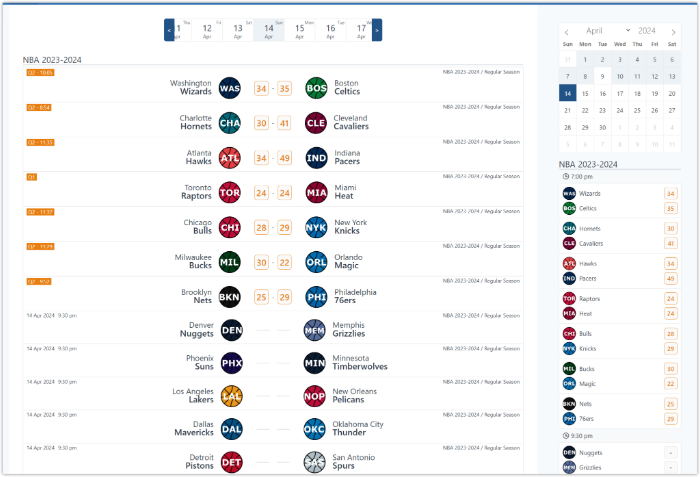
The plugin will display real-time data on each page containing the games (as shown in the screenshot). However, there may be a slight delay of a few minutes before the data will start loading for the first time.
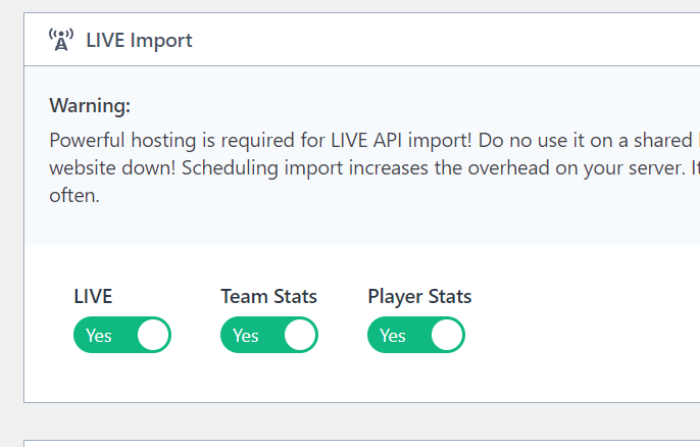
With the Sports League plugin, you can display a specific live layout on a single game page. You can choose which live data you want to retrieve from the API by accessing the Settings page.

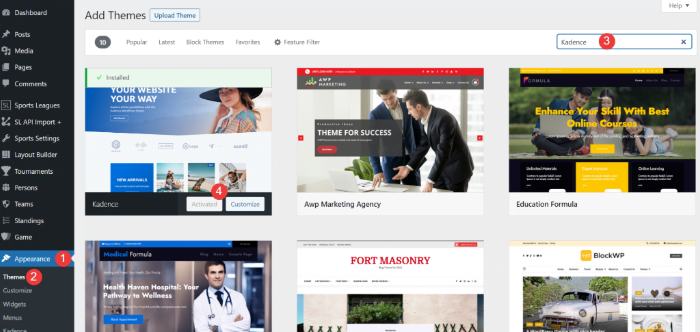
7) Install WordPress Theme
AnWP Sports Leagues is compatible with almost all classic WordPress themes. However, for the best user experience, I highly recommend using the Kadence theme, which we also use in our tutorial. Its free version is lightweight, fast, and has tons of useful options.
Go to the Appearance >> Themes. Search for Kadence and click Install. Activate it.
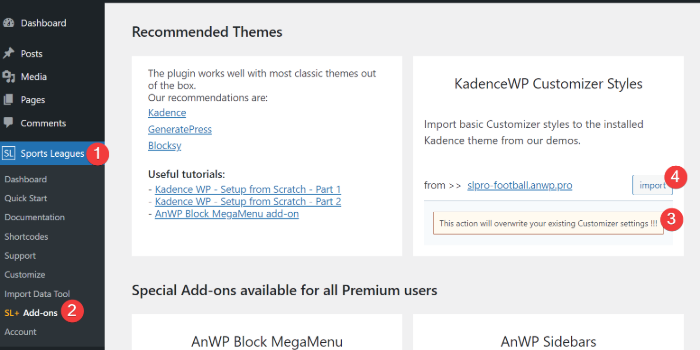
You can optionally install Customizer settings for the Kadence theme from the demo site – https://slpro-football.anwp.pro/
Of course, if you like it.
In addition, I have a collection of step-by-step tutorials that guide you in configuring the Kadence theme like an expert.
- Kadence WP – Setup from Scratch for Football Website – Part 1
- Kadence WP – Setup from Scratch for Football Website – Part 2
- AnWP Block MegaMenu add-on
8) Test Your Website
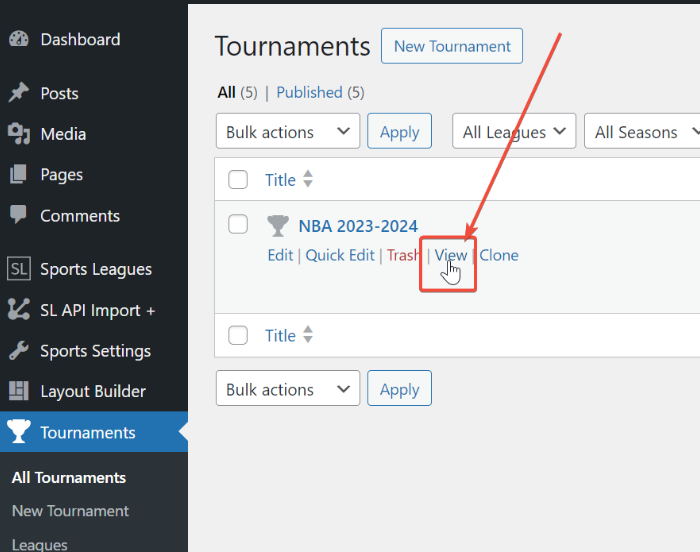
Check your website to see if everything works as intended.
Go to Tournaments >> and click on the View link after any competition.
9) Add to Menu (optional)
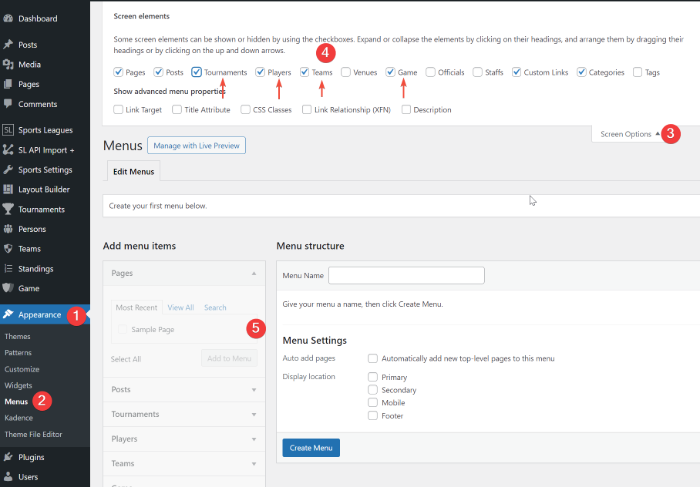
If you want to add a Tournament or Team page to the menu, go to Appearance >> Menus click on Screen Options and check Tournament or Teams to make them available in the menu section.
10) Add Widgets (optional)
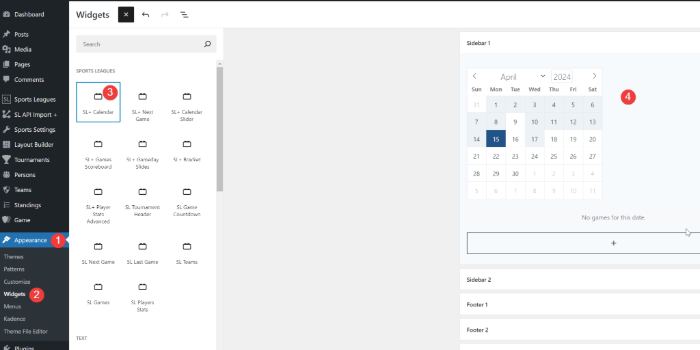
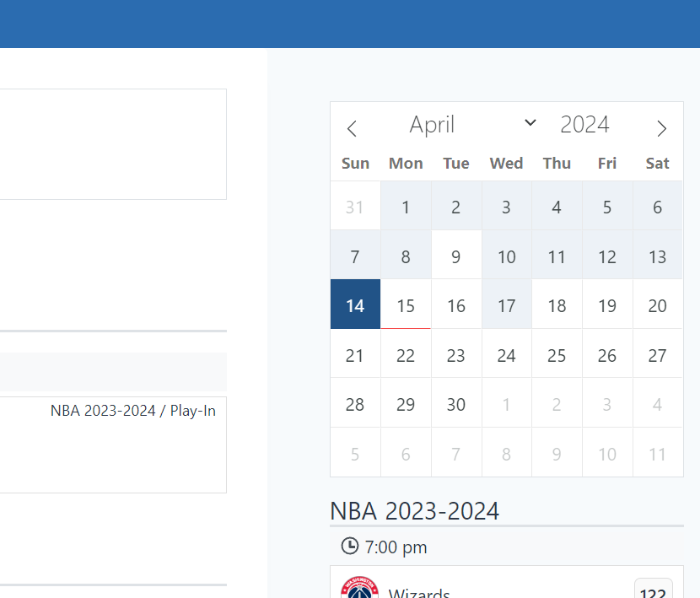
AnWP Sports Leagues plugin has many cool widgets. Go to Appearance >> Widgets and select the block you want. For example, the Calendar widget will be a fine option for your sidebar.
11) Home Page, Gutenberg Blocks and Shortcodes (optional)
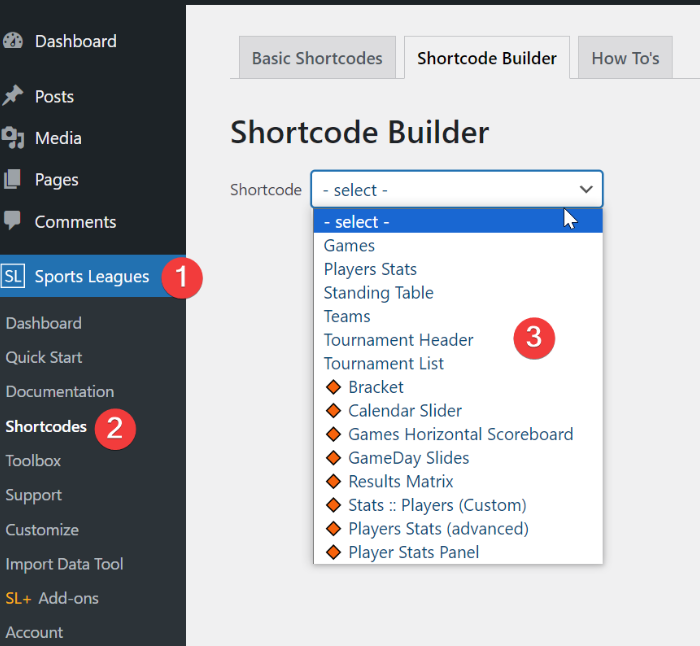
The plugin has dozen useful shortcodes. You will find them in Sports Leagues >> Shortcode >> Shortcode Builder.
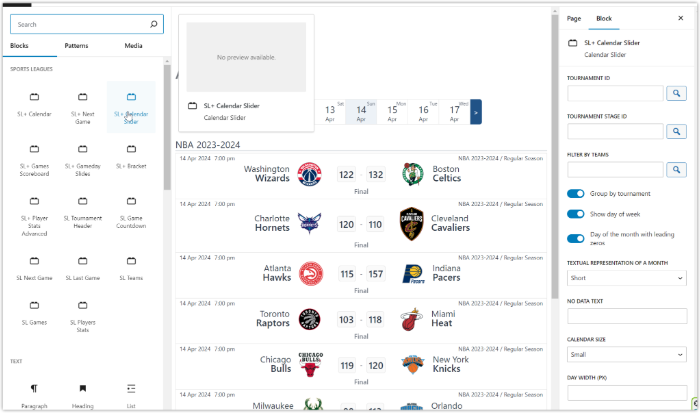
You can also create a cool Home page using the Gutenberg Blocks plugin. SL+ Calendar Slider is a perfect choice for it.
Tutorial written by Andrei Strekozov.