 API-FOOTBALL
Today, we're going to see how to create a multi-sports results website with the help of Widgets, using a few copy/paste operations and a little lines of code to make the magic happen. We will use new features such as Dynamic Targeting, which allows widgets to communicate with each other.
To do this, you will only need a valid API-KEY. Available directly in our dashboard once logged in.
Documentation regarding Widgets is available here.
Let's begin
We will start with a blank HTML page, into which we will integrate Bootstrap, which we will mainly use for its simple and effective grid system.
index.html
<!DOCTYPE html>
<html lang="en" data-bs-theme="dark">

<head>
  <meta charset="UTF-8" />
  <meta name="viewport" content="width=device-width, initial-scale=1.0" />
  <title>My Awesome Website</title>
  <script src="https://cdn.jsdelivr.net/npm/[email protected]/dist/js/bootstrap.bundle.min.js"
    integrity="sha384-j1CDi7MgGQ12Z7Qab0qlWQ/Qqz24Gc6BM0thvEMVjHnfYGF0rmFCozFSxQBxwHKO"
    crossorigin="anonymous"></script>
  <link href="https://cdn.jsdelivr.net/npm/[email protected]/dist/css/bootstrap.min.css" rel="stylesheet"
    integrity="sha384-4Q6Gf2aSP4eDXB8Miphtr37CMZZQ5oXLH2yaXMJ2w8e2ZtHTl7GptT4jmndRuHDT" crossorigin="anonymous" />
</head>

<body>
  <nav class="header navbar navbar-expand-lg bg-body-tertiary sticky-top">
    <div class="container-fluid">
      <a class="navbar-brand" href="/">TUTORIAL</a>
      <button class="navbar-toggler" type="button" data-bs-toggle="collapse" data-bs-target="#navbarSupportedContent"
        aria-controls="navbarSupportedContent" aria-expanded="false" aria-label="Toggle navigation">
        <span class="navbar-toggler-icon"></span>
      </button>
      <div class="collapse navbar-collapse" id="navbarSupportedContent">
        <ul class="navbar-nav me-auto mb-2 mb-lg-0">
          <li class="nav-item">
            <a class="nav-link active" href="/">Home</a>
          </li>
        </ul>
      </div>
    </div>
  </nav>

  <div class="content p-3">
    <div class="row">

    </div>
  </div>

</body>
</html>
You should have something like this
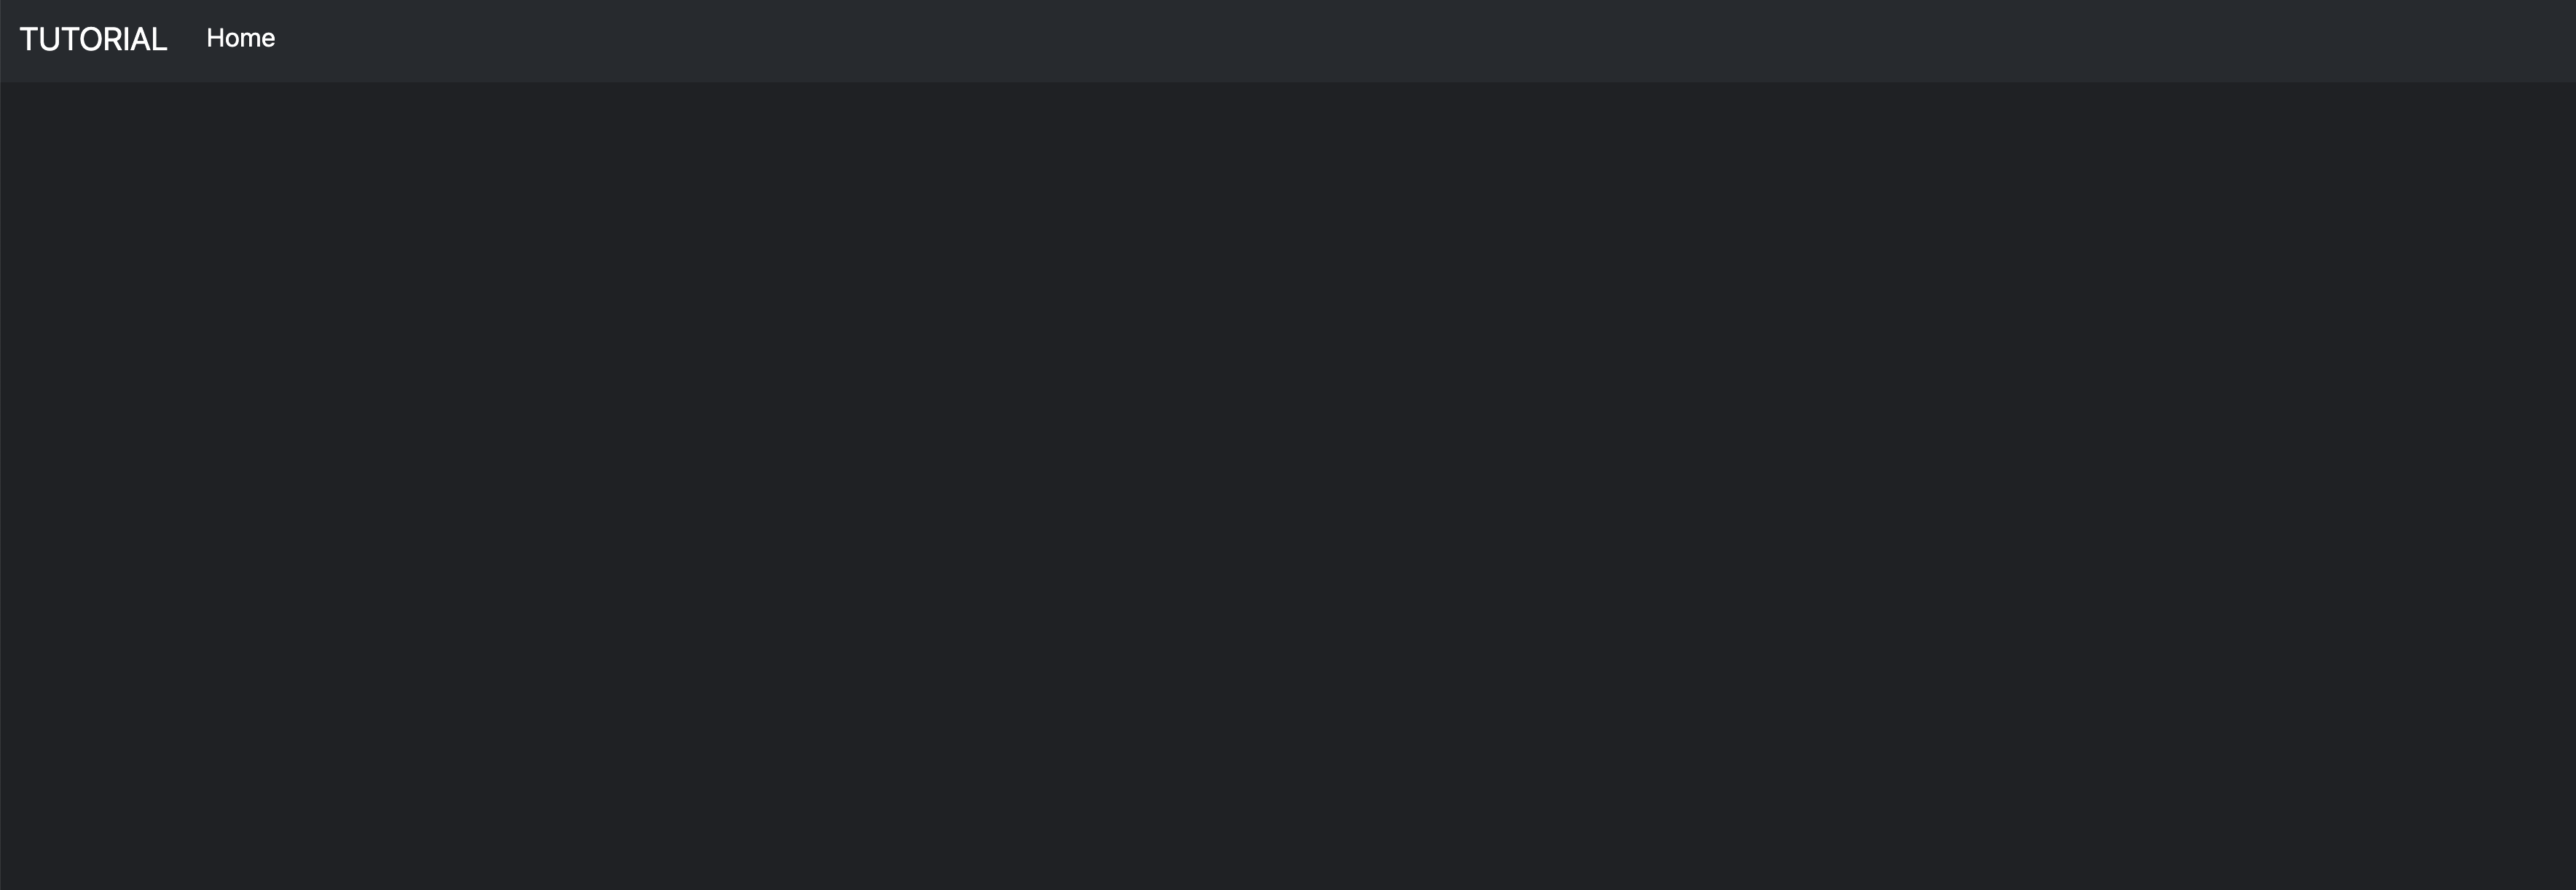
Not very impressive, but it's a start. We're going to add a few lines of CSS. To do this, create the style.css file and add it to the head section in the index.html file.
style.css
body {
  margin:0;
}

.container-fluid,
.content {
  max-width: 1440px;
  margin: auto;
}
index.html
<head>
  <meta charset="UTF-8" />
  <meta name="viewport" content="width=device-width, initial-scale=1.0" />
  <title>My Awesome Website</title>
  <script src="https://cdn.jsdelivr.net/npm/[email protected]/dist/js/bootstrap.bundle.min.js"
    integrity="sha384-j1CDi7MgGQ12Z7Qab0qlWQ/Qqz24Gc6BM0thvEMVjHnfYGF0rmFCozFSxQBxwHKO"
    crossorigin="anonymous"></script>
  <link href="https://cdn.jsdelivr.net/npm/[email protected]/dist/css/bootstrap.min.css" rel="stylesheet"
    integrity="sha384-4Q6Gf2aSP4eDXB8Miphtr37CMZZQ5oXLH2yaXMJ2w8e2ZtHTl7GptT4jmndRuHDT" crossorigin="anonymous" />
  <link rel="stylesheet" type="text/css" href="style.css" />
</head>
We will now add the widgets to our web page. This is done in several steps
- adding the widgets js script
- adding the widget configuration
- adding the widgets to the page
In index.html add the following in the <head> section
<script type="module" crossorigin src="https://widgets.api-sports.io/3.1.0/widgets.js"></script>
In the bottom on of page and just before </body> add the configuration
<!-- Config widget -->
<api-sports-widget
  data-type="config"
  data-sport="football"
  data-key="Your-Api-Key-here"
  data-lang="en"
  data-theme="grey"
  data-show-error="false"
  data-show-logos="true"
  data-refresh="20"
  data-favorite="true"
  data-player-trophies="true"
  data-standings="true"
  data-player-injuries="true"
  data-team-squad="true"
  data-team-statistics="true"
  data-player-statistics="true"
  data-tab="games"
  data-game-tab="statistics"
  data-target-player="modal"
  data-target-league="#games-list"
  data-target-team="#team-content"
  data-target-game="#game-content .card-body"
  data-target-standings="#standings-content"
 ></api-sports-widget>
You will notice that the configuration block contains many parameters. We have already configured the settings so that navigation and communication between widgets are smooth and optimized for browsing. You can modify these settings as you wish by following our documentation to adapt them to your plans and needs.
Make sure to replace the value in the attribute “data-key” by your real API-KEY from the dashboard.
At this moment you index.html file should be like this
index.html
<!DOCTYPE html>
<html lang="en" data-bs-theme="dark">

<head>
  <meta charset="UTF-8" />
  <meta name="viewport" content="width=device-width, initial-scale=1.0" />
  <title>My Awesome Website</title>
  <script src="https://cdn.jsdelivr.net/npm/[email protected]/dist/js/bootstrap.bundle.min.js"
    integrity="sha384-j1CDi7MgGQ12Z7Qab0qlWQ/Qqz24Gc6BM0thvEMVjHnfYGF0rmFCozFSxQBxwHKO"
    crossorigin="anonymous"></script>
  <link href="https://cdn.jsdelivr.net/npm/[email protected]/dist/css/bootstrap.min.css" rel="stylesheet"
    integrity="sha384-4Q6Gf2aSP4eDXB8Miphtr37CMZZQ5oXLH2yaXMJ2w8e2ZtHTl7GptT4jmndRuHDT" crossorigin="anonymous" />
  <script type="module" crossorigin src="https://widgets.api-sports.io/3.1.0/widgets.js"></script>
  <link rel="stylesheet" type="text/css" href="style.css" />
</head>

<body>
  <nav class="header navbar navbar-expand-lg bg-body-tertiary sticky-top">
    <div class="container-fluid">
      <a class="navbar-brand" href="/">TUTORIAL</a>
      <button class="navbar-toggler" type="button" data-bs-toggle="collapse" data-bs-target="#navbarSupportedContent"
        aria-controls="navbarSupportedContent" aria-expanded="false" aria-label="Toggle navigation">
        <span class="navbar-toggler-icon"></span>
      </button>
      <div class="collapse navbar-collapse" id="navbarSupportedContent">
        <ul class="navbar-nav me-auto mb-2 mb-lg-0">
          <li class="nav-item">
            <a class="nav-link active" href="/">Home</a>
          </li>
        </ul>
      </div>
    </div>
  </nav>

  <div class="content p-3">
    <div class="row">

    </div>
  </div>

  <!-- Config widget -->
  <api-sports-widget
    data-type="config"
    data-sport="football"
    data-key="Your-Api-Key-here"
    data-lang="en"
    data-theme="grey"
    data-show-error="false"
    data-show-logos="true"
    data-refresh="20"
    data-favorite="true"
    data-player-trophies="true"
    data-standings="true"
    data-player-injuries="true"
    data-team-squad="true"
    data-team-statistics="true"
    data-player-statistics="true"
    data-tab="games"
    data-game-tab="statistics"
    data-target-player="modal"
    data-target-league="#games-list"
    data-target-team="#team-content"
    data-target-game="#game-content .card-body"
    data-target-standings="#standings-content"
  ></api-sports-widget>
</body>
</html>
We will now add a widget to the page to see if the configuration is correct. We will add the games widget, which displays the day's matches and updates them automatically using the data-refresh parameter (which is present in our configuration and updates every 20 seconds).
The code for this widget is as follows
<api-sports-widget data-type="games"></api-sports-widget>
Add it to the div content->row of your index.html file.
<div class="content p-3">
  <div class="row">

  </div>
</div>
like this
<div class="content p-3">
  <div class="row">
      <api-sports-widget data-type="games"></api-sports-widget>
  </div>
</div>
Now if you reload the page, you should see this
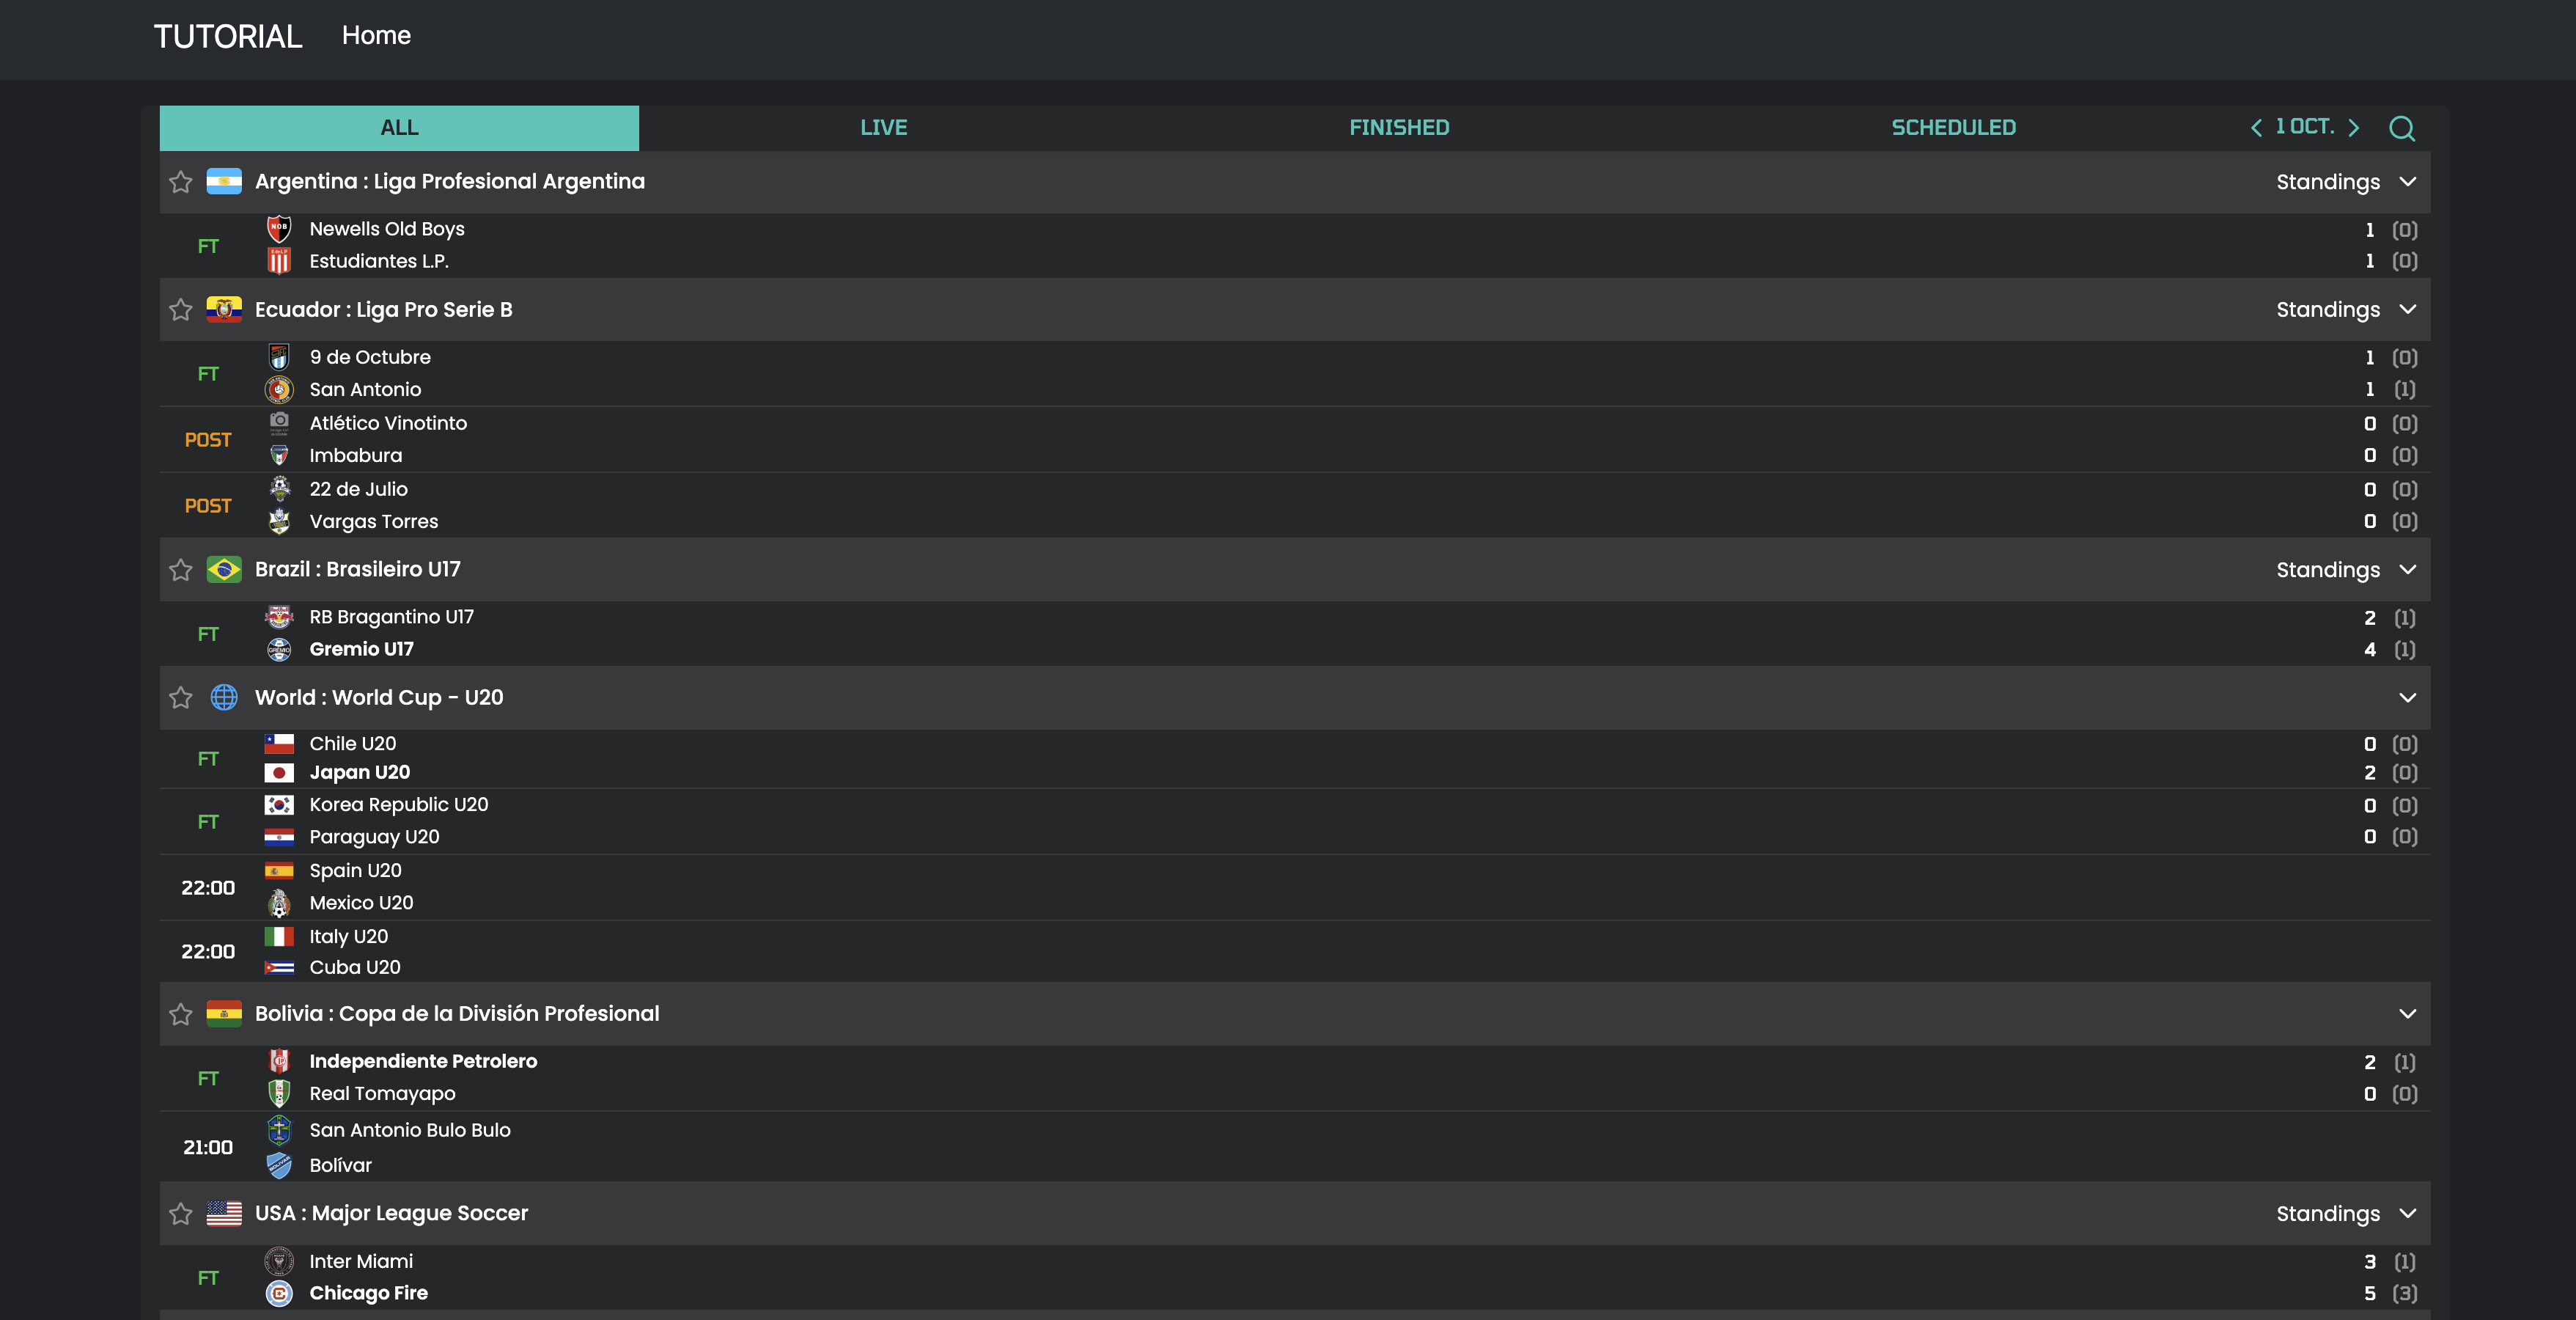
If you have nothing or a loader running, make sure you have added your API-KEY. If the error persists, check the console for error messages, making sure to set the data-show-error parameter to true.
Now we will set up Bootstrap's grid system and place our widgets and containers there, as well as those needed for dynamic targeting, which is present in our configuration.
Replace the following
<div class="content p-3">
    <div class="row">

  </div>
</div>
By
<div class="content p-3">
    <div class="row">

        <div class="col-3">
            <div id="leagues-list" class="card text-bg-dark border-dark">
                <div class="card-body p-0">
                    <api-sports-widget data-type="leagues"></api-sports-widget>
                </div>
            </div>
        </div>

        <div class="col-5">
            <div id="games-list" class="card text-bg-dark border-dark">
                <div class="card-body p-0">
                    <div id="games-list">
                        <api-sports-widget data-type="games"></api-sports-widget>
                    </div>
                </div>
            </div>
        </div>

        <div class="col-4">

            <!-- Start Dynamic Targeting containers -->
            <div class="card text-bg-dark border-dark">
                <div class="card-body p-0">
                    <div id="standings-content"></div>
                </div>
            </div>
            <div class="card text-bg-dark border-dark">
                <div class="card-body p-0">
                    <div id="team-content"></div>
                </div>
            </div>
            <!-- End Dynamic Targeting containers -->

            <div id="game-content" class="card text-bg-dark border-dark">
                <div class="card-body p-0">
                    <api-sports-widget data-type="game" data-game-id="977705"></api-sports-widget>
                </div>
            </div>

        </div>

    </div>
</div>
We will also add some CSS to style.css.
#game-content {
    position: sticky;
    top: 70px;
    overflow-y: auto;
}

#game-content api-sports-widget {
    max-height: calc(100vh - 100px);
}

#standings-content api-sports-widget,
#team-content api-sports-widget {
    margin-bottom: 1rem;
    max-height: 55vh;
}

#leagues-list {
    position: sticky;
    top: 70px;
    overflow-y: auto;
}
If your reload the page you should have this
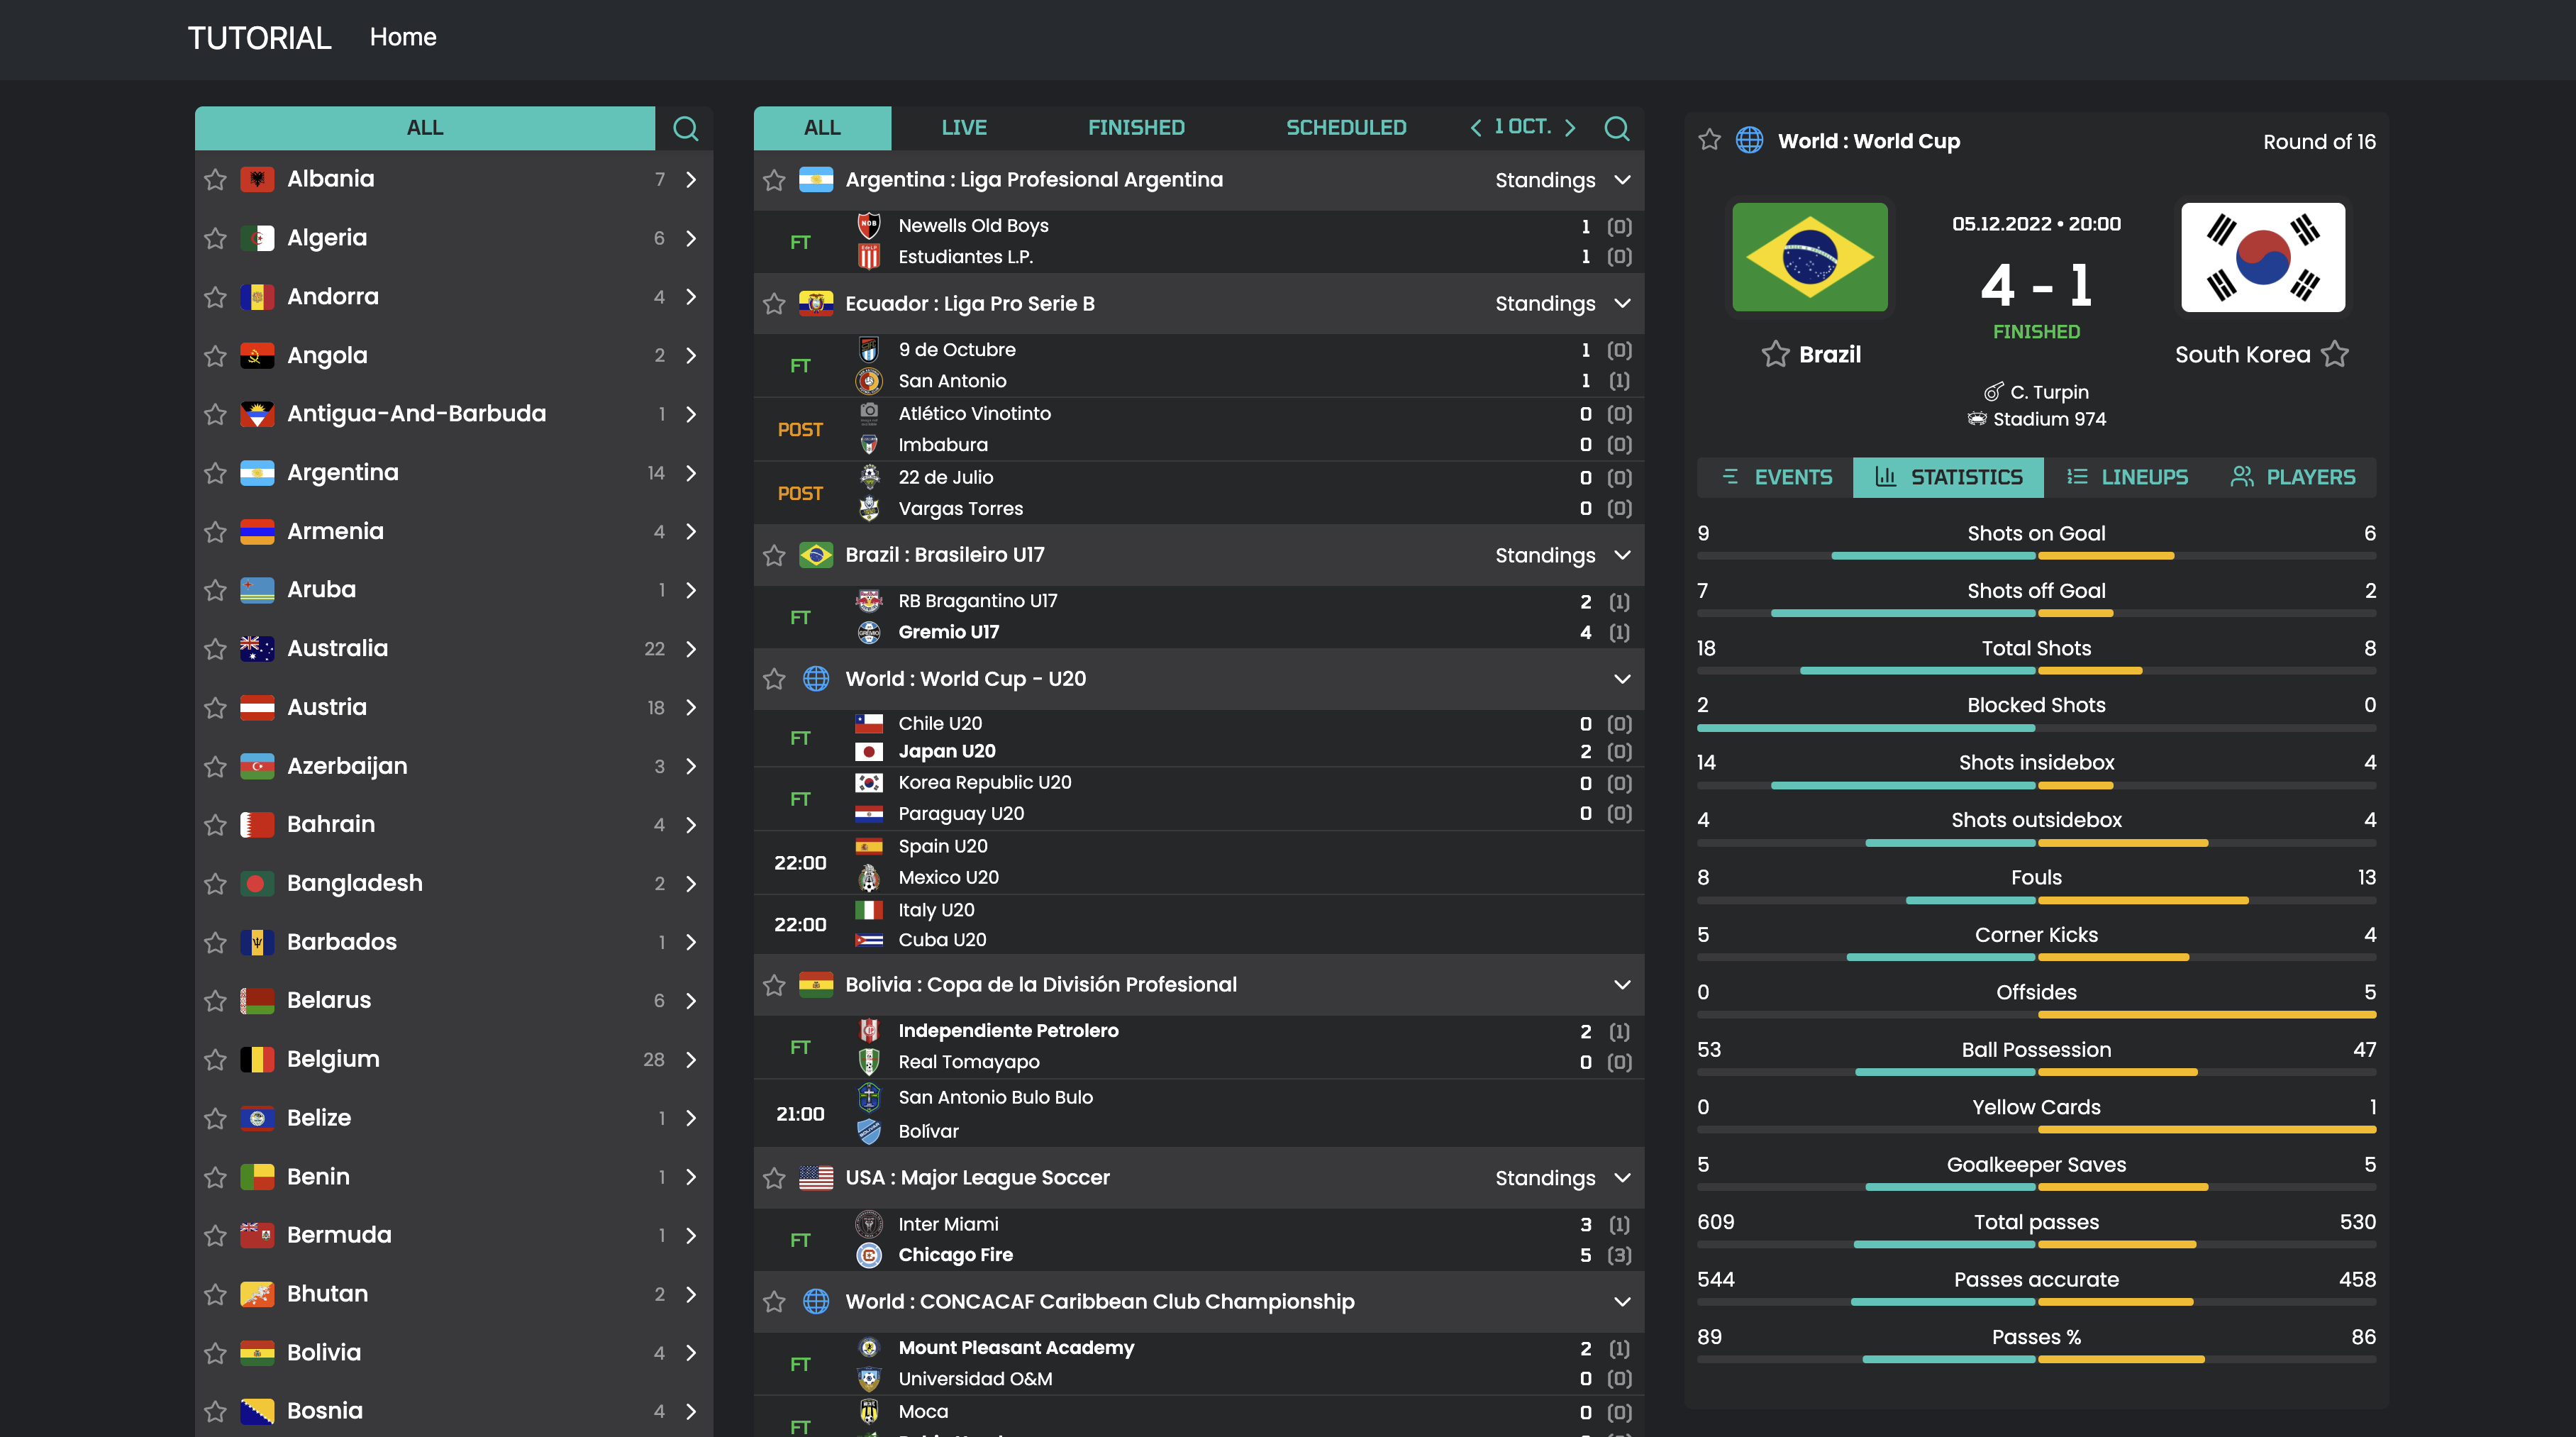
Everything is up and running, so you can now click on matches, teams, players, or competitions to view the data.
Want to go further and display data for all sports on the same page?
We'll need to modify the menu and add some JavaScript to make this happen, but not too complicated.
In the Navbar replace
<ul class="navbar-nav me-auto mb-2 mb-lg-0">
  <li class="nav-item">
        <a class="nav-link active" href="/">Home</a>
  </li>
</ul>
By
<ul class="navbar-nav me-auto mb-2 mb-lg-0">
    <li class="nav-item">
        <a class="nav-link active" data-sport="football" href="#">Football</a>
    </li>
    <li class="nav-item">
        <a class="nav-link" data-sport="baseball" href="#">Baseball</a>
    </li>
    <li class="nav-item">
        <a class="nav-link" data-sport="basketball" href="#">Basketball</a>
    </li>
    <li class="nav-item">
        <a class="nav-link" data-sport="handball" href="#">Handball</a>
    </li>
    <li class="nav-item">
        <a class="nav-link" data-sport="hockey" href="#">Hockey</a>
    </li>
    <li class="nav-item">
        <a class="nav-link" data-sport="rugby" href="#">Rugby</a>
    </li>
    <li class="nav-item">
        <a class="nav-link" data-sport="volleyball" href="#">Volleyball</a>
    </li>
</ul>
And add this javascript at the bottom of the index.html file, juste before </html>
<script>
    document.addEventListener('click', function (event) {

        if (!event.target.matches('.nav-link')) return
        event.preventDefault()

        let sport = event.target.getAttribute('data-sport')

        let widget = document.querySelector('api-sports-widget[data-type="config"]');
            widget.setAttribute('data-sport', sport);

        let leagues = document.querySelector('api-sports-widget[data-type="leagues"]');
            leagues.innerHTML = ''
            leagues.setAttribute('data-sport', sport)
            leagues.connectedCallback()

        let games = document.querySelector('api-sports-widget[data-type="games"]');
            games.innerHTML = ''
            games.setAttribute('data-sport', sport)
            games.connectedCallback()

        let game = document.querySelector('api-sports-widget[data-type="game"]');
            game.innerHTML = ''
            game.setAttribute('data-sport', sport)
            game.connectedCallback()

        window.document.dispatchEvent(new Event("DOMContentLoaded", {
          bubbles: true,
          cancelable: true
        }));
    })
</script>
How does this script work?
- When you click on one of the links in the menu, it retrieves the
“data-sport”attribute, then changes the sport to the new one in the configuration as well as in each widget. (widget.setAttribute('data-sport', sport);) - It empties the content of each widget with
game.innerHTML = '' - Restarts the widgets with the
connectedCallback()function.
Now, if you reload the page and click on basketball for example, the widget content will change according to the sport.
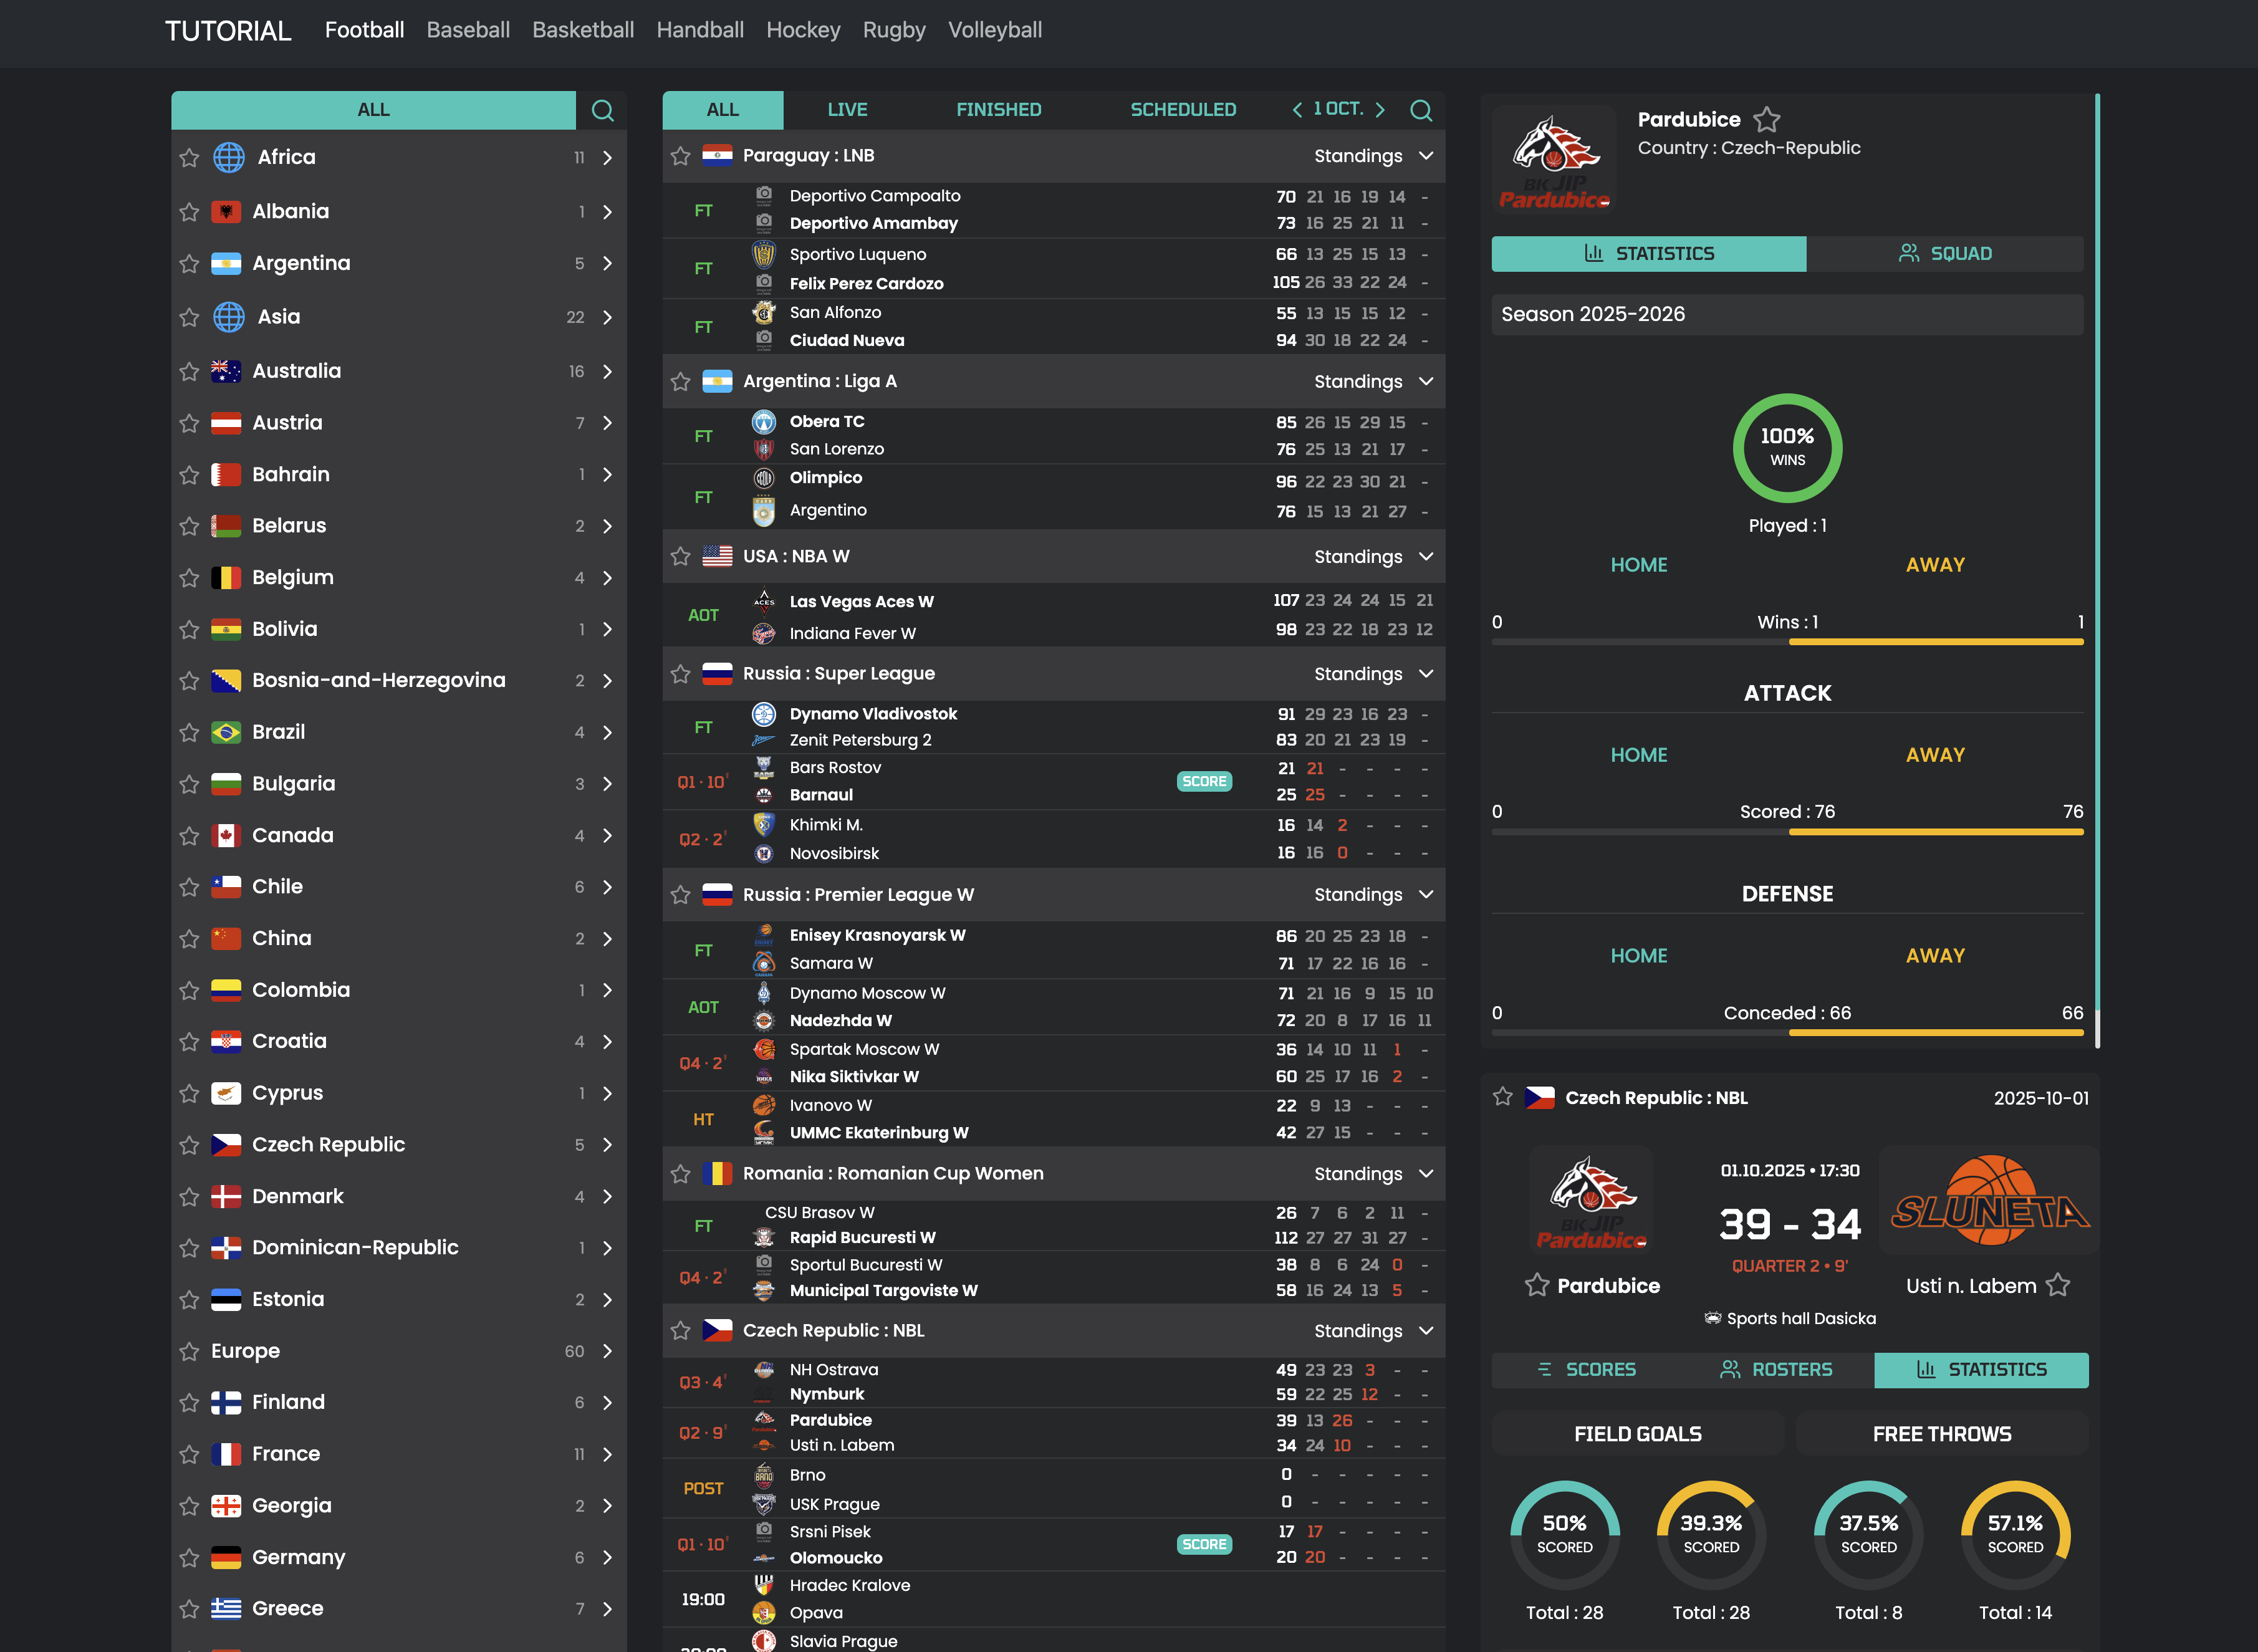
And there you have it, with just under 200 lines of code, you have a website that can display all the data available from all of our APIs. All you have to do now is customize it to your liking.
Here all the code of each file
index.html
<!DOCTYPE html>
<html lang="en" data-bs-theme="dark">

<head>
  <meta charset="UTF-8" />
  <meta name="viewport" content="width=device-width, initial-scale=1.0" />
  <title>My Awesome Website</title>
  <script src="https://cdn.jsdelivr.net/npm/[email protected]/dist/js/bootstrap.bundle.min.js"
    integrity="sha384-j1CDi7MgGQ12Z7Qab0qlWQ/Qqz24Gc6BM0thvEMVjHnfYGF0rmFCozFSxQBxwHKO"
    crossorigin="anonymous"></script>
  <link href="https://cdn.jsdelivr.net/npm/[email protected]/dist/css/bootstrap.min.css" rel="stylesheet"
    integrity="sha384-4Q6Gf2aSP4eDXB8Miphtr37CMZZQ5oXLH2yaXMJ2w8e2ZtHTl7GptT4jmndRuHDT" crossorigin="anonymous" />
  <script type="module" crossorigin src="https://widgets.api-sports.io/3.1.0/widgets.js"></script>
  <link rel="stylesheet" type="text/css" href="style.css" />
</head>

<body>
  <nav class="header navbar navbar-expand-lg bg-body-tertiary sticky-top">
    <div class="container-fluid">
      <a class="navbar-brand" href="/">TUTORIAL</a>
      <button class="navbar-toggler" type="button" data-bs-toggle="collapse" data-bs-target="#navbarSupportedContent"
        aria-controls="navbarSupportedContent" aria-expanded="false" aria-label="Toggle navigation">
        <span class="navbar-toggler-icon"></span>
      </button>
      <div class="collapse navbar-collapse" id="navbarSupportedContent">
        <ul class="navbar-nav me-auto mb-2 mb-lg-0">
          <li class="nav-item">
            <a class="nav-link active" data-sport="football" href="#">Football</a>
          </li>
          <li class="nav-item">
            <a class="nav-link" data-sport="baseball" href="#">Baseball</a>
          </li>
          <li class="nav-item">
            <a class="nav-link" data-sport="basketball" href="#">Basketball</a>
          </li>
          <li class="nav-item">
            <a class="nav-link" data-sport="handball" href="#">Handball</a>
          </li>
          <li class="nav-item">
            <a class="nav-link" data-sport="hockey" href="#">Hockey</a>
          </li>
          <li class="nav-item">
            <a class="nav-link" data-sport="rugby" href="#">Rugby</a>
          </li>
          <li class="nav-item">
            <a class="nav-link" data-sport="volleyball" href="#">Volleyball</a>
          </li>
        </ul>
      </div>
    </div>
  </nav>

  <div class="content p-3">
    <div class="row">

      <div class="col-3">
        <div id="leagues-list" class="card text-bg-dark border-dark">
          <div class="card-body p-0">
            <api-sports-widget data-type="leagues"></api-sports-widget>
          </div>
        </div>
      </div>

      <div class="col-5">
        <div id="games-list" class="card text-bg-dark border-dark">
          <div class="card-body p-0">
            <div id="games-list">
              <api-sports-widget data-type="games"></api-sports-widget>
            </div>
          </div>
        </div>
      </div>

      <div class="col-4">

        <!-- Start Dynamic Targeting containers -->
        <div class="card text-bg-dark border-dark">
          <div class="card-body p-0">
            <div id="standings-content"></div>
          </div>
        </div>
        <div class="card text-bg-dark border-dark">
          <div class="card-body p-0">
            <div id="team-content"></div>
          </div>
        </div>
        <!-- End Dynamic Targeting containers -->

        <div id="game-content" class="card text-bg-dark border-dark">
          <div class="card-body p-0">
            <api-sports-widget data-type="game" data-game-id="977705"></api-sports-widget>
          </div>
        </div>

      </div>

    </div>
  </div>

  <!-- Config widget -->
  <api-sports-widget
    data-type="config"
    data-sport="football"
    data-key="Your-Api-Key-here"
    data-lang="en"
    data-theme="grey"
    data-show-error="false"
    data-show-logos="true"
    data-refresh="20"
    data-favorite="true"
    data-player-trophies="true"
    data-standings="true"
    data-player-injuries="true"
    data-team-squad="true"
    data-team-statistics="true"
    data-player-statistics="true"
    data-tab="games"
    data-game-tab="statistics"
    data-target-player="modal"
    data-target-league="#games-list"
    data-target-team="#team-content"
    data-target-game="#game-content .card-body"
    data-target-standings="#standings-content"
  ></api-sports-widget>
</body>
<script>
  document.addEventListener('click', function (event) {

    if (!event.target.matches('.nav-link')) return
    event.preventDefault()

    let sport = event.target.getAttribute('data-sport')

    let widget = document.querySelector('api-sports-widget[data-type="config"]');
            widget.setAttribute('data-sport', sport);

    let leagues = document.querySelector('api-sports-widget[data-type="leagues"]');
            leagues.innerHTML = ''
            leagues.setAttribute('data-sport', sport)
            leagues.connectedCallback()

    let games = document.querySelector('api-sports-widget[data-type="games"]');
            games.innerHTML = ''
            games.setAttribute('data-sport', sport)
            games.connectedCallback()

    let game = document.querySelector('api-sports-widget[data-type="game"]');
            game.innerHTML = ''
            game.setAttribute('data-sport', sport)
            game.connectedCallback()

    window.document.dispatchEvent(new Event("DOMContentLoaded", {
      bubbles: true,
      cancelable: true
    }));
  })
</script>

</html>
style.css
body {
    margin:0;
}

.container-fluid,
.content {
    max-width: 1440px;
    margin: auto;
}

#game-content {
    position: sticky;
    top: 70px;
    overflow-y: auto;
}

#game-content api-sports-widget {
    max-height: calc(100vh - 100px);
}

#standings-content api-sports-widget,
#team-content api-sports-widget {
    margin-bottom: 1rem;
    max-height: 55vh;
}

#leagues-list {
    position: sticky;
    top: 70px;
    overflow-y: auto;
}
Feel free to check out our other articles on widget customization and security.